Users and Teams
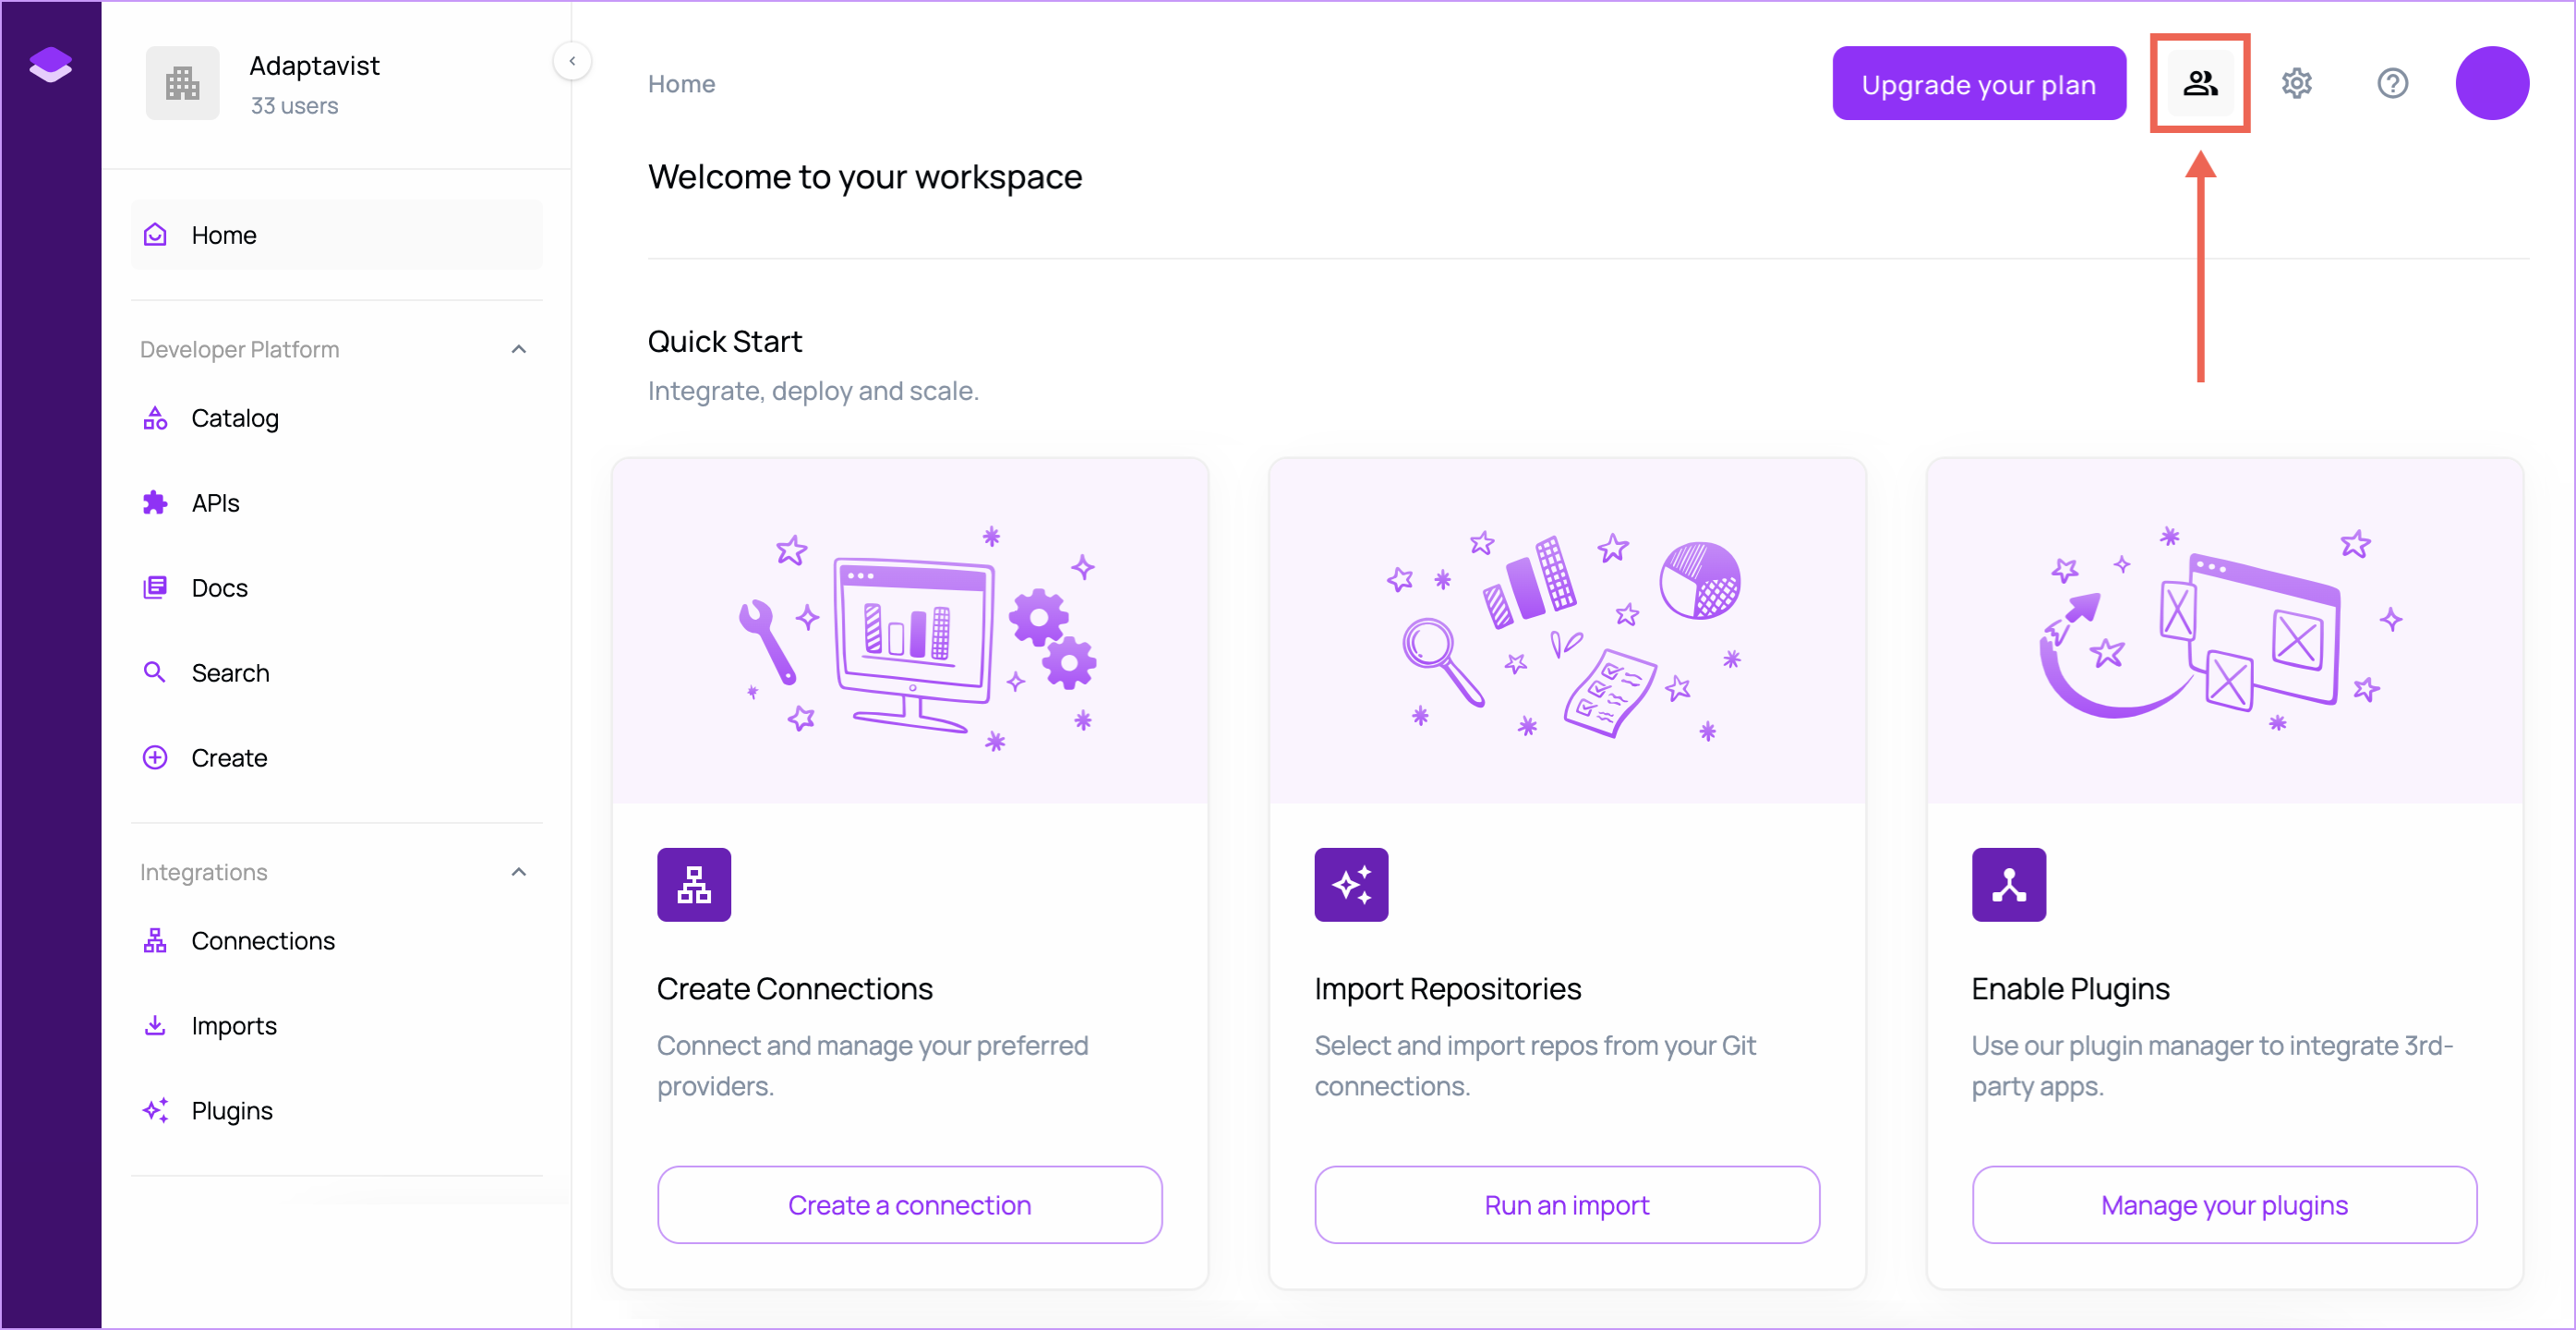
Click Users & Teams in the upper-right corner of any app screen to access your venue settings. The Users tab opens by default.
- Role-based dashboard view
- Your Venue dashboard and available actions will vary depending on your assigned role. For example, since users with the viewer role have no import permissions, import-related content does not appear on the viewer's dashboard.
- Onboarding steps for new users also vary based on assigned role.
See RBAC for more details on roles and permissions.
User Settings
Admins and editors can manage user settings. (See RBAC for more info about roles and permissions.)
Click the ellipses on the right side of a row to choose from the following user options:
- View profile - Provides a summary of the user's information, including email address, a list of teams and roles, and activation status. Here you can activate/deactivate users, as well as permanently delete the selected user from the venue.
- Activate/Deactivate user - Toggles a users activation status. This action is temporary and can be changed at any time.
- Delete user - Permanently deletes a user from the venue. Deleted users must be reinvited to the venue to regain access.
Inviting new users to your venue
- On the All Users tab, click Invite user to invite a new person to your venue.
- On the Invite user screen, enter their email address and role.
- Optional: Select a team for the invitee.
- Click Send invite.
An invitation to the venue will be sent to the provided email address. Use the Invited Users tab to monitor invitation requests.
Team Settings
Admins and editors can manage team settings. (See RBAC for more info about roles and permissions.)
Click the ellipses on the right side of a row to choose from the following user options:
- View team - Provides a summary of a team, including name, description, list of team members, and more. Here you can manage (add or remove) team members, join the team yourself, permanently leave a team, or permanently delete a team.
- Manage users - Allows you to add or remove users from an existing team.
- Delete team - Permanently deletes a team from the venue.
Creating a new team
- On the Teams tab, click New team.
- On the Create a new team dialog, enter the team name and team description.
- Optional: Add existing venue users to the new team.
tip
As the team creator, you will not be added to the team automatically; you must be manually added like any new user.
- Click Create team.